How to self-host Supabase with Coolify and migrate your project from the official Supabase platform
Discover how to self-host Supabase with Coolify, gain full control of your infrastructure, and seamlessly migrate your project from the official platform!

Supabase is an open-source alternative to Firebase, offering features like databases, authentication, and storage. While the managed Supabase platform is convenient, self-hosting gives you full control over your infrastructure and can significantly reduce costs.
In this guide, I'll walk you through two key processes:
- Setting up Supabase on your own server using Coolify.
- Migrating your existing Supabase project from the hosted platform to your self-hosted instance.
Whether you're looking to save money or gain more flexibility, this guide will help you get started.
Note: Coolify is currently in public beta. While it's powerful, evaluate its stability carefully before using it for critical production workloads.
Set up a VPS with Hetzner Cloud and install Coolify
Before deploying Supabase, you'll need a server running Coolify. Follow these steps:
1. Create a VPS on Hetzner Cloud
Sign up for a Hetzner account if you don't already have one.
In the Hetzner Cloud Console, create a new project.
Create a new server resource.

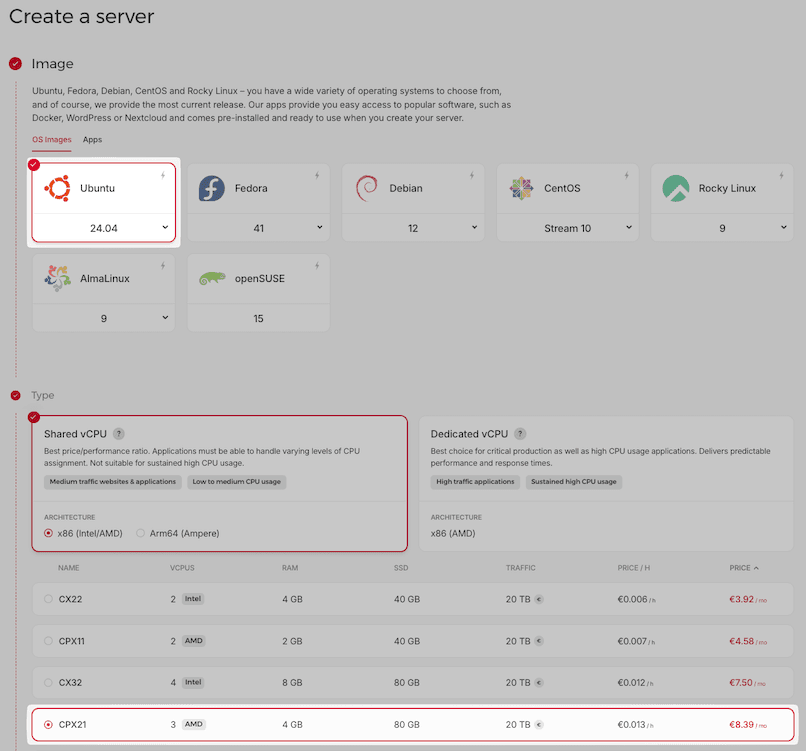
Choose an Ubuntu OS image (recommended for its stability) and select a server plan that meets or exceeds these minimum requirements for Coolify:
- CPU: 2 cores
- RAM: 2 GB
- Storage: 30 GB
A good starting point is Hetzner's CPX21 plan (3 vCPUs, 4 GB RAM, 80 GB SSD) at €8.39/month.
Note: I am not affiliated with Hetzner. The recommendation to use Hetzner Cloud in this guide is based solely on its cost-effectiveness and performance. Feel free to choose any VPS provider that meets the requirements outlined in this tutorial.
2. Install Coolify
Follow CJ Reynolds' Coolify Crash Course on the Syntax YouTube channel for detailed instructions on installing Coolify. This tutorial covers key setup steps, including:
- Setting up SSH access.
- Configuring firewalls and reverse proxies.
- Installing Coolify.
- Enabling SSL certificates.
Deploy Supabase using Coolify
Once Coolify is installed on your server, you can deploy Supabase by following these steps:
1. Create a new project
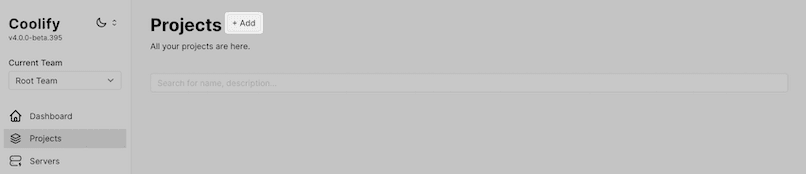
Open the Coolify dashboard and navigate to the "Projects" tab.
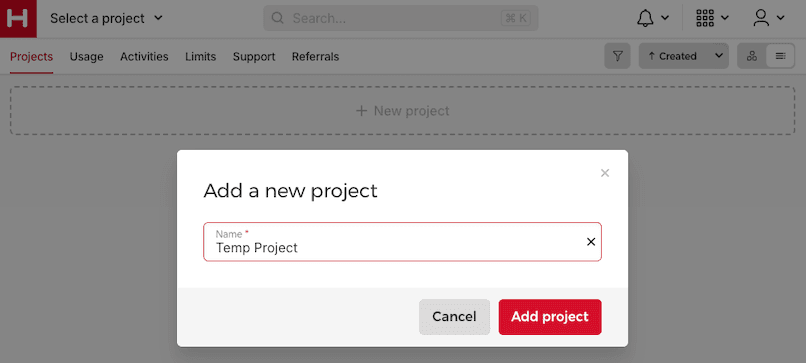
Click "+ Add" and provide a name for your project (e.g., "Supabase").
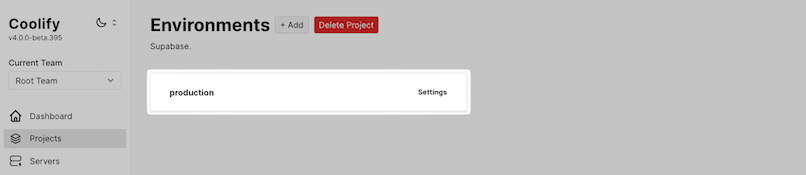
Click "Continue", then create or select the relevant environment (e.g., production) to proceed.
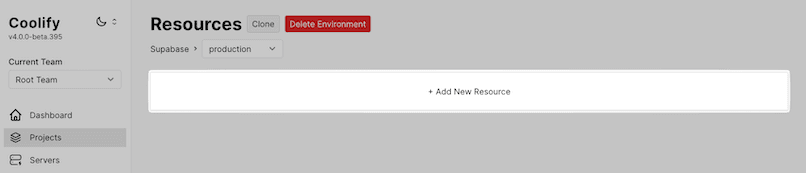
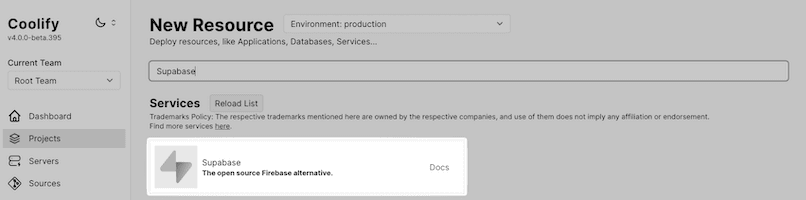
2. Add a new resource to your project
Click "+ Add New Resource" and choose the Supabase template from the list of available resources.
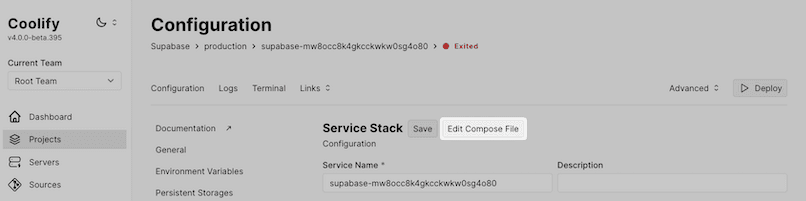
3. Edit Compose File
Navigate to the resource's "Configuration" tab and click the "Edit Compose File" button.
In the Compose file, locate the
supabase-dbservice configuration and update the ports section to expose PostgreSQL on port5432as shown below:supabase-db: image: 'supabase/postgres:' ports: - ${POSTGRES_PORT:-5432}:${POSTGRES_PORT:-5432}This configuration maps port
5432from your host machine to port5432inside the container.
4. Deploy Supabase
- In the resource's "Configuration" tab, click the "Deploy" button located in the top-right corner.
- Wait for all containers to initialize and turn green.
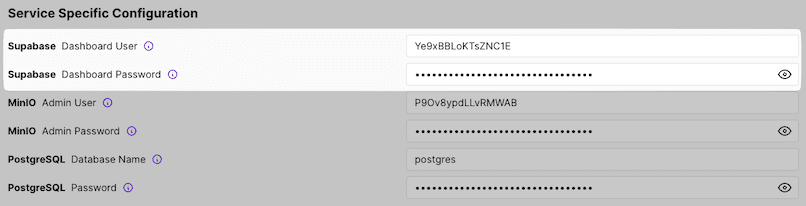
5. Access Supabase Admin Dashboard
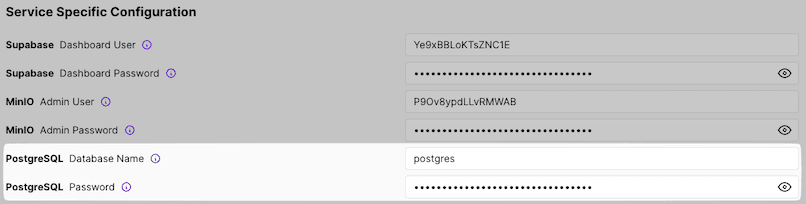
After the deployment is complete, navigate to the "Configuration" tab and locate the "Service Specific Configuration" section. Use the Supabase credentials provided there to access your Supabase Admin Dashboard.
Migrate your project from the official Supabase platform
What you'll need:
Database backup: Exported from your project on the official Supabase platform as a
*.backupfile.PostgreSQL name and password: Found in the "Service Specific Configuration" section of your Coolify dashboard.
Server IP address: The public IP of your Hetzner VPS.
Steps to migrate:
1. Configure PostgreSQL access
To enable database migration, you need to temporarily make the PostgreSQL database publicly accessible.
Open the Coolify dashboard and under "Services", locate "Supabase Db (supabase/postgres:XX.X.X.XXX)" and click "Settings".

Set the public port to
5432, and check "Make it publicly available".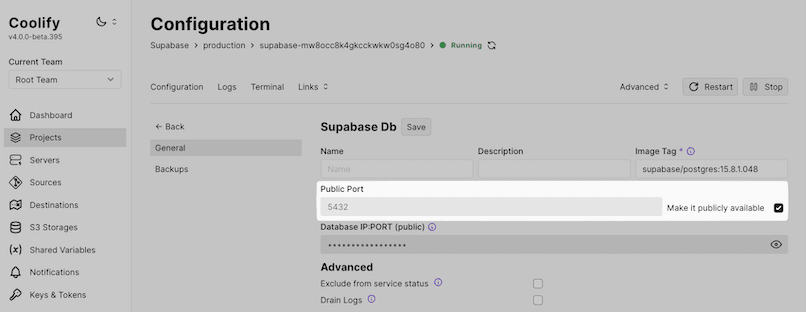
Lastly, make sure to allow port
5432through the Hetzner firewall.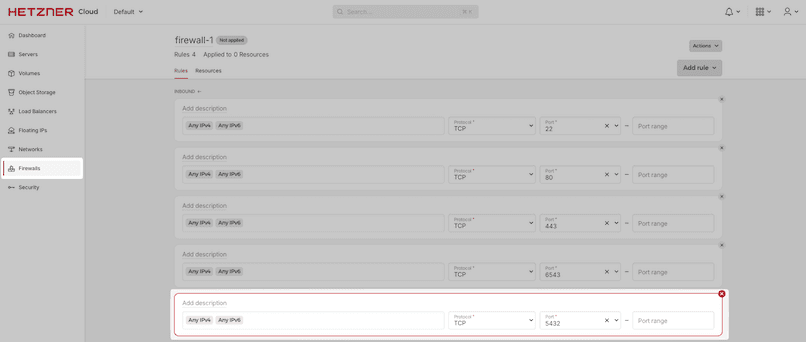
Important: These changes are temporary for migration purposes only. Revert them after the migration to secure your setup.
2. Export your database backup
In your hosted Supabase account:
- Navigate to "Settings" → "Backups".
- Download the latest backup file (
*.backup) to your local machine.
3. Restore your database
Use the PostgreSQL interactive terminal tool to restore the database on your self-hosted instance:
psql 'postgresql://postgres:<your-postgres-password>@<your-server-ip>:5432/<database-name>' -f <your-backup-file>.backup
By following this guide, you've taken control of your infrastructure while saving on costs.
- Share this page